How to resize an image without losing quality
Last updated: 8 November 2026.
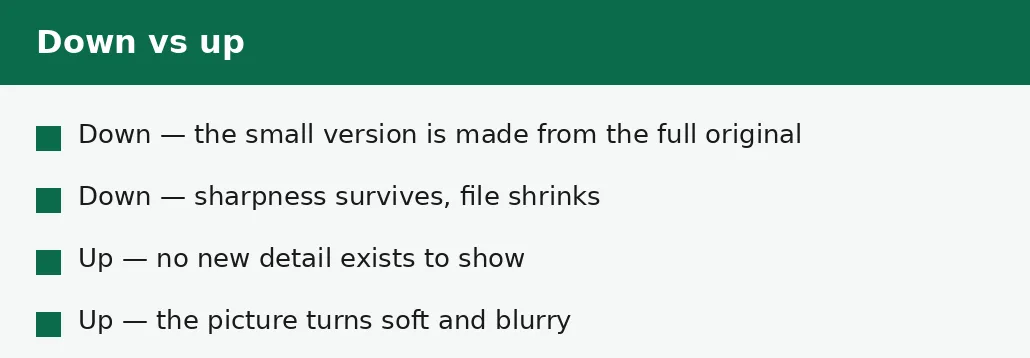
Resizing an image down is safe: a photo shrunk from 4000 pixels wide to 1000 keeps its sharpness, because the smaller version is made from the full original. Resizing up is not safe: a photo enlarged beyond its original size has no new detail to show, so it turns soft and blurry. The rule is to resize down to the dimensions the image will actually be shown at, from the original file, once — and to check the result at full size before you use it.
What resizing actually does
Resizing changes how many pixels a picture has. A photo 4000 pixels wide holds 4000 columns of picture information; resizing it to 1000 wide keeps 1000 of those columns, chosen from the full original, and throws the rest away. Because the smaller version is built from the complete original, it stays sharp: every pixel in the small version comes from real picture information.
Enlarging works the other way: a photo 1000 pixels wide resized to 4000 has to invent 3000 columns it never had. The tool guesses what should be there by stretching what exists, and the guess is visible as softness — edges blur, fine detail smears, text turns fuzzy. No resize can put back detail the original never recorded, which is why resizing up is the one direction that costs quality.
How to resize an image without losing quality
The method is short: choose the original file, set the dimensions the image will actually be shown at, resize once, and check the result at full size. The dimensions matter more than any setting — a photo resized to the size it will be displayed at looks exactly as sharp as the original, because it is shown at the size it was made for.
Do not resize in stages: shrinking a photo a little, then a little more, then a little more, throws away detail at every step and ends softer than a single resize to the same final size. One resize, from the original, to the final dimensions — that is the whole method, and the guide to image file sizes explains why the file shrinks so fast when the dimensions fall.
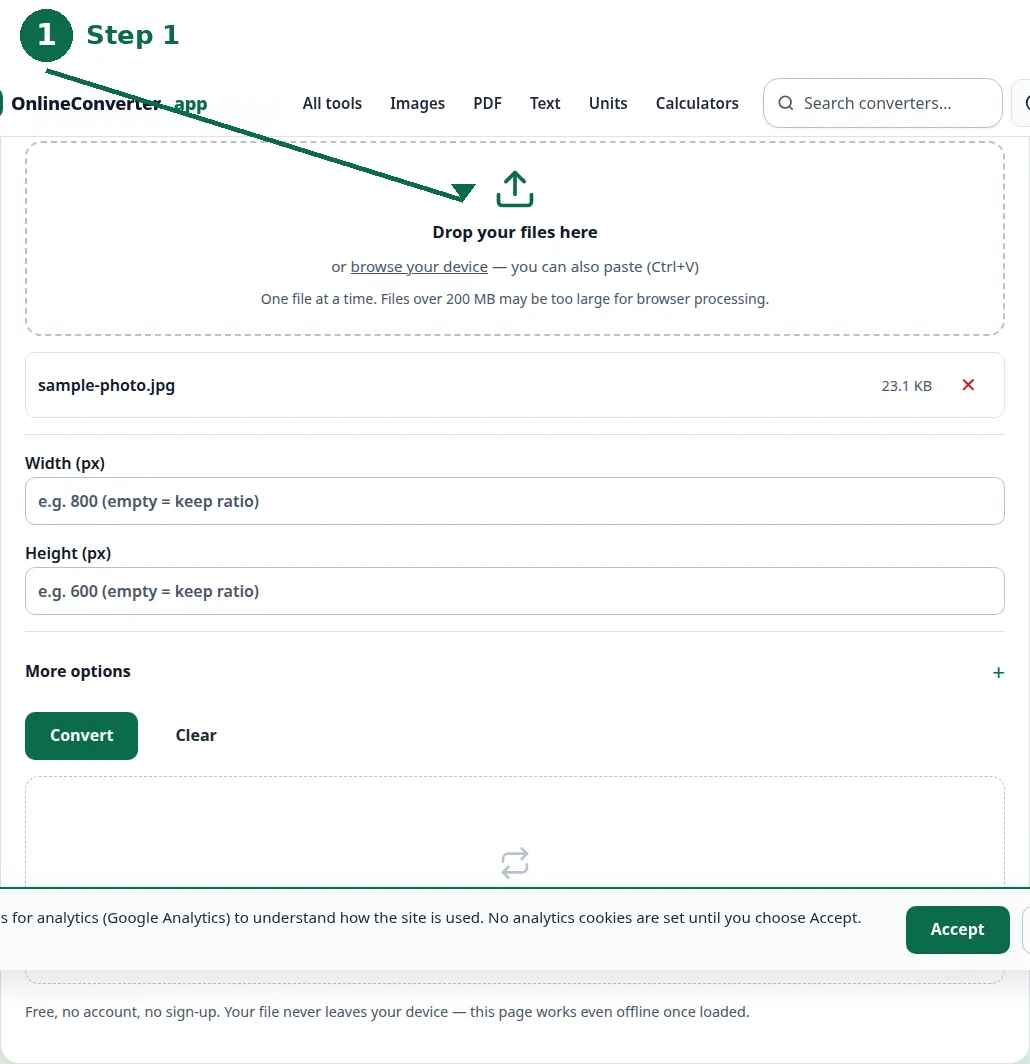
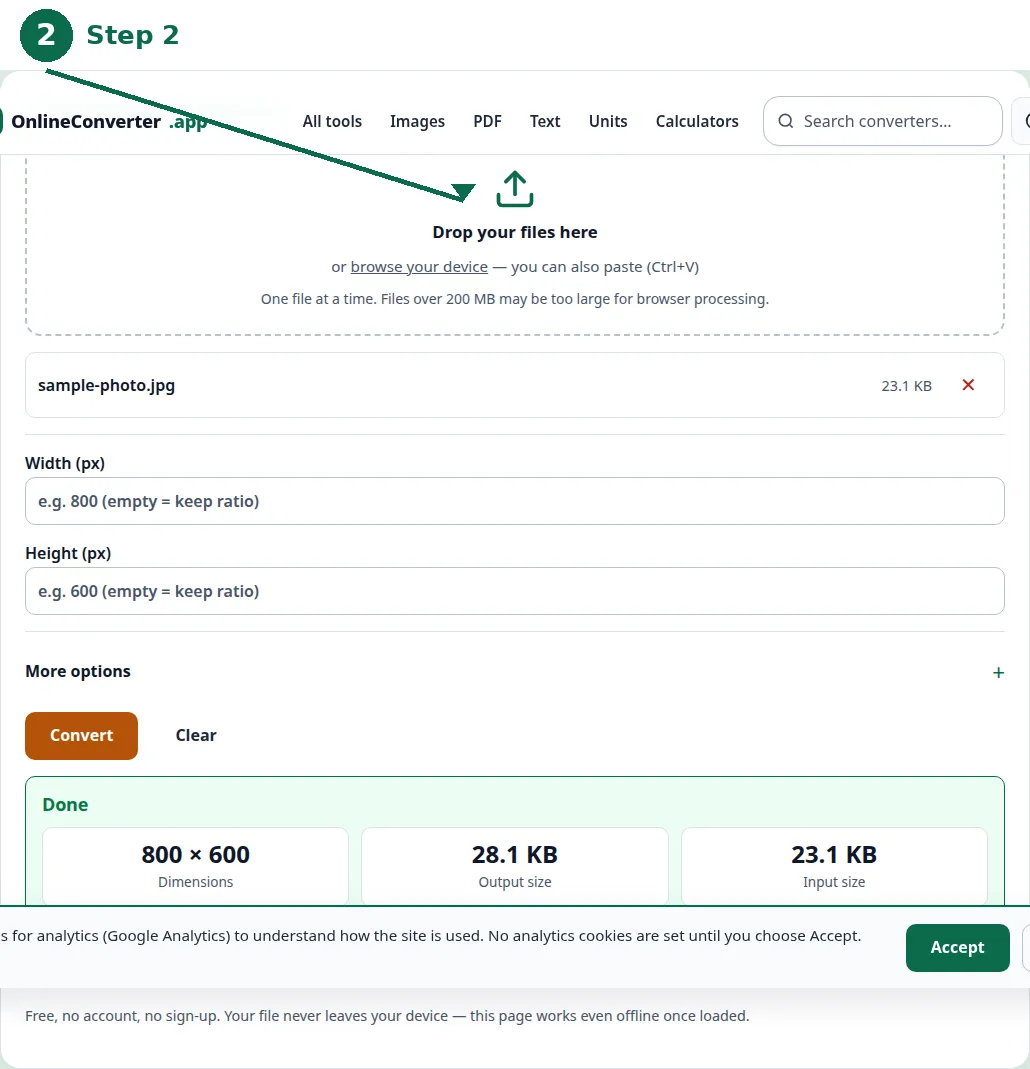
- Step 1 — Open the Resize Image tool and choose the original photo — the largest version you have.
- Step 2 — Set the width or height it will actually be shown at, keeping the proportions locked.
- Step 3 — Resize once, and download the result.
- Step 4 — Open the result at full size and check the text, faces and fine detail before you use it.
How far down can you go?
Further than most people expect. A photo shrunk to a quarter of its width keeps its sharpness, because the smaller version is still built from the full original — the eye cannot see the pixels that were thrown away, because the picture is shown smaller too. A 4000-pixel photo shown at 1000 pixels looks as sharp as the original shown at 4000, as long as each is shown at its own size.
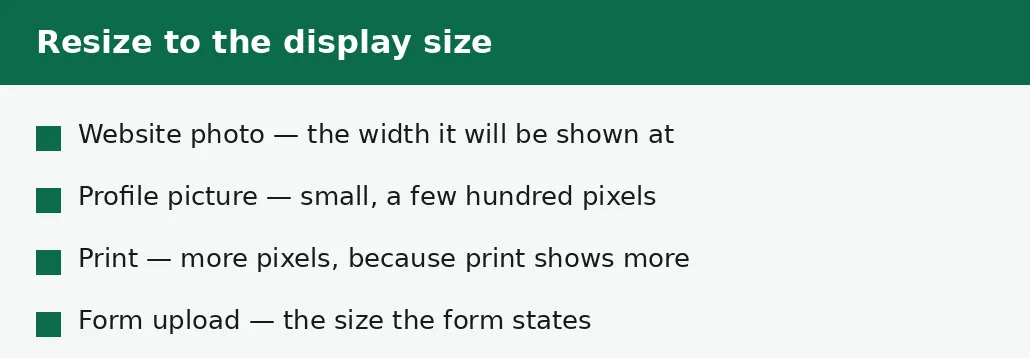
The limit is the display size: a photo resized smaller than the size it will be shown at must be enlarged again to fill the space, and that enlargement is where the softness appears. So the target is the display size itself — the width the image will actually occupy on the page, in the form, or on the screen. Resize to that, no smaller.
| Use | Target width | Notes |
|---|---|---|
| Website photo | The width shown on the page | Check the page, not the file. |
| Profile picture | A few hundred pixels | Small on screen; small file. |
| Email attachment | Under 1600 pixels | Keeps the file small and the picture clear. |
| More pixels than screen | Print shows more detail per centimetre. | |
| Form upload | The size the form states | The form's number is the target. |
Resizing up: when it is the only option
Sometimes the only photo you have is too small for where it must go — a 500-pixel logo needed at 2000 pixels, a small scan needed for print. Enlarging it will soften it, and no honest tool can avoid that: the detail was never recorded, so it cannot be recovered. The best you can do is enlarge once, from the largest version you have, and accept the softness.
Before you enlarge, check whether a larger original exists: the same photo on the phone that took it, the original scan, the designer's source file. A larger original is always better than an enlarged small one, and it is worth a few minutes of searching. If none exists, enlarge once and stop — enlarging an enlarged photo only stretches the softness further.
The mistakes that soften a picture
The most common mistake is resizing from a resized copy instead of the original: each generation throws away more, and the picture gets softer every time. Always go back to the original file — the largest version you have — for every resize, and keep the resized copies separate from it.
The second mistake is changing the proportions: stretching a photo wider without making it taller distorts everything in it, and the distortion is visible even in a thumbnail. Keep the proportions locked, so the width and height change together. And the third mistake is deleting the original before the resized version is checked — once it is gone, a resize that went too far cannot be redone.
Troubleshooting
Why does my resized photo look blurry?
Either it was enlarged beyond its original size, or it was resized from a resized copy instead of the original. Go back to the largest version you have, resize once to the display size, and check the result at full size.
Why is my resized photo still too big a file?
Resizing changes the dimensions, not the format or the quality setting. A PNG photo stays large at any size — convert it to JPG or WebP — or lower the quality setting after resizing.
Why does my photo look stretched?
The proportions were not locked, so the width changed without the height. Resize again from the original with the proportions locked, so the width and height change together.
Common questions
Does resizing an image lose quality?
Resizing down does not visibly lose quality: the smaller version is made from the full original. Resizing up does — the enlarged version has no new detail to show, so it turns soft.
How small should I resize a photo for a website?
To the width it will actually be shown at on the page. A photo shown 800 pixels wide needs 800 pixels of width — more is dead weight, less must be enlarged again.
Can I resize a photo bigger without losing quality?
No. Enlarging invents detail that was never recorded, so the result is always softer than the original. Use the largest original you have, and enlarge once.
Should I resize or compress first?
Resize first, then compress if the file is still too big. Resizing changes the dimensions; compressing changes how the pixels are stored — and a resized photo often needs no compression at all.
Is my image uploaded anywhere when I resize it?
No. Resizing runs entirely in your browser. Nothing is sent to a server, there is no account, and closing the tab clears your file from memory.
What if I resize too far?
Go back to the original file and resize again — which is why you keep it. A resize that went too far cannot be fixed from the resized copy, only redone from the source.
Summary
Resize down to the dimensions the image will actually be shown at, from the original file, once — and check the result at full size. Resizing down is safe because the smaller version is built from the full original; resizing up is not, because the detail was never recorded. Keep the original, lock the proportions, and resize again from the source if you go too far.