How to convert HEIC to JPG without losing quality
Last updated: 8 November 2026.
Converting HEIC to JPG keeps the picture intact when you convert from the original HEIC at a high quality setting and check the result before you use it. The JPG is made from the full HEIC image, so the photo you see is the photo the HEIC held — what is lost is only the extras HEIC can carry, like live-photo frames and depth data, and a little of the size efficiency. The mistakes that cost quality are converting from an already-converted JPG instead of the original, and saving at a low quality setting to chase a smaller file.
What actually happens in the conversion
A HEIC photo and a JPG photo are both compressed pictures, but they use different compression: HEIC's is newer and more efficient, JPG's is older and universal. Converting means decoding the HEIC back to the full picture — every pixel the HEIC stored — and then encoding that picture as a JPG. Nothing is skipped: the JPG is made from the complete image, not from a thumbnail or a preview.
That is why the picture survives. The conversion does not throw away detail the way a careless resize does; it re-encodes the whole picture in a different format. What does not survive is the packaging around the picture — live-photo frames, depth information, and the extra efficiency — and those matter only in specific cases, not for an ordinary photo shared or uploaded.
How to convert HEIC to JPG without losing quality
The method has four moves: start from the original HEIC, use a high quality setting, download the JPG, and check it at full size before you use it. The order matters — converting from the original is the step that protects quality, and checking at full size is the step that proves it. A thumbnail hides softening; full size shows it.
If the JPG must also hit a size limit for a form, do the two jobs in order: convert first at high quality, then shrink the JPG toward the limit with the image compressor. Shrinking during the conversion forces the converter to guess at both jobs at once, and the guess costs quality that a two-step job keeps.
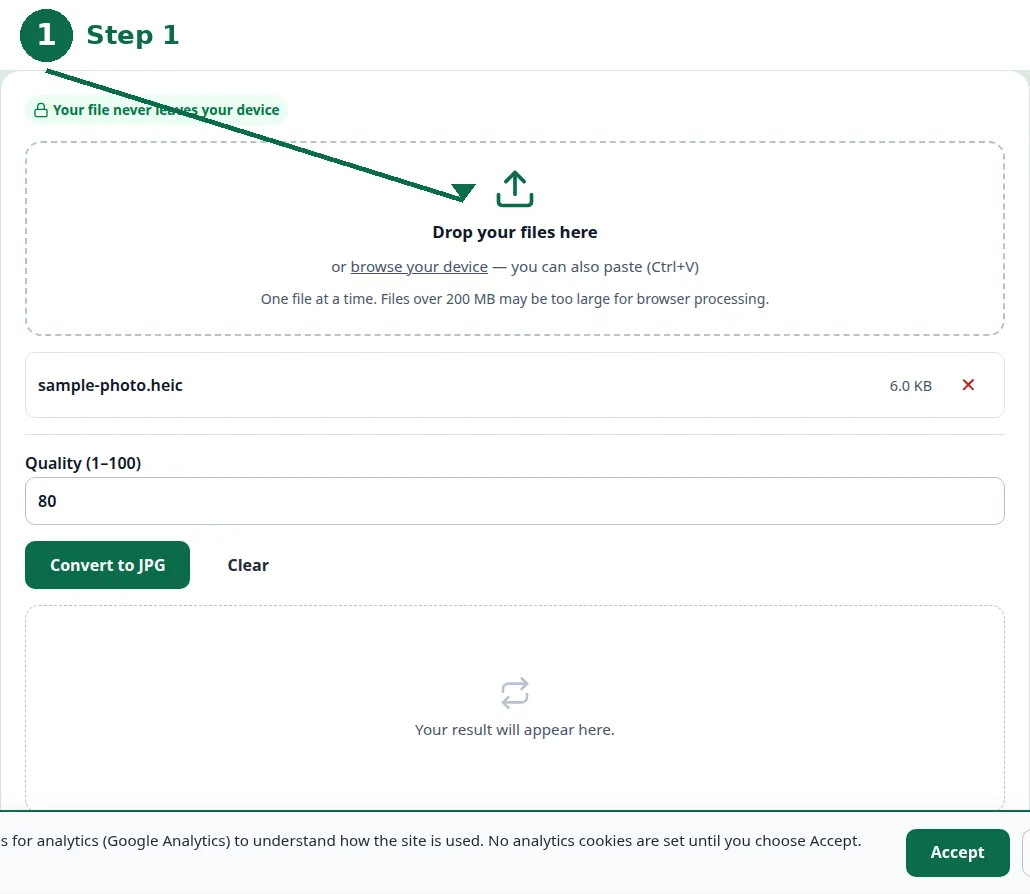
- Step 1 — Open the HEIC to JPG tool and choose the original HEIC photo — the one from the iPhone, not a JPG made from it.
- Step 2 — Check the quality setting is high, and convert.
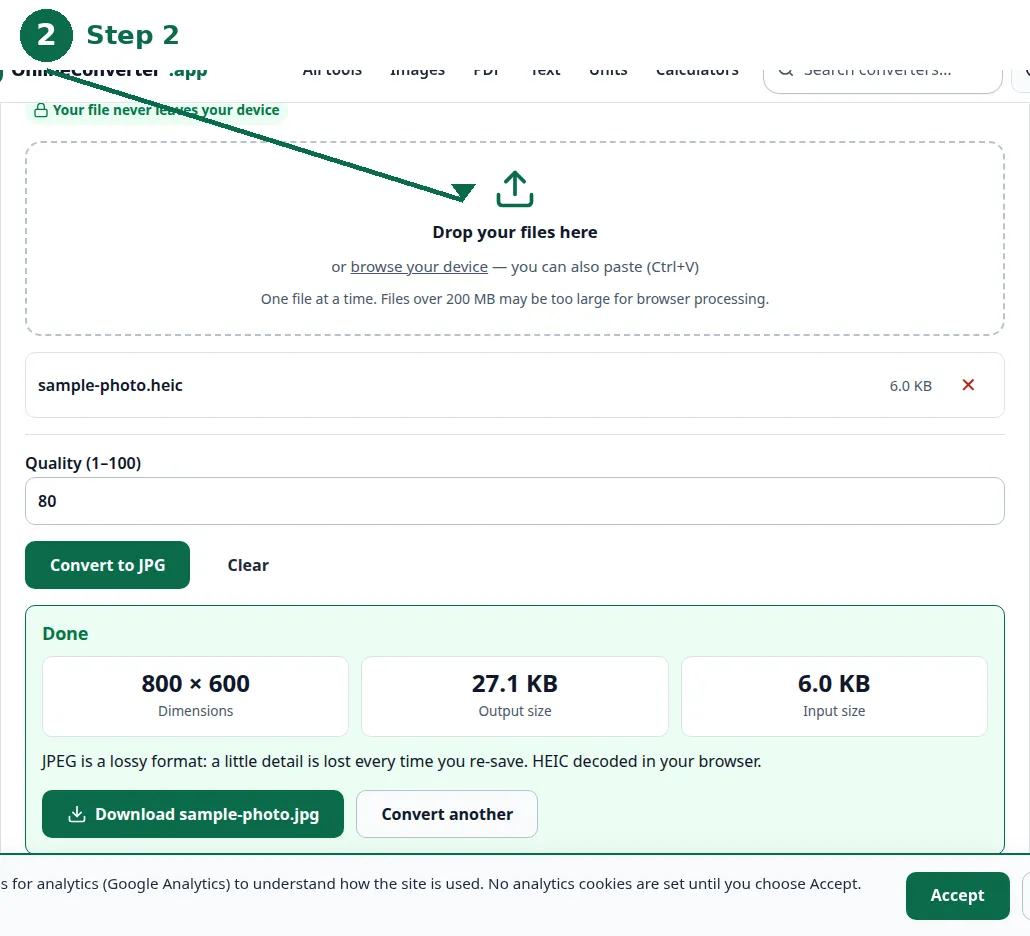
- Step 3 — Download the JPG and open it at full size.
- Step 4 — Compare it with the original: skies, faces and fine detail. If it looks right, it is right.
The quality setting: what it does
The quality setting decides how much the JPG compression is allowed to throw away. A high setting keeps almost everything and produces a larger file; a low setting throws away more and produces a smaller file. For a photo that matters — an application photo, a print, a portfolio piece — a high setting is the right choice, because the file size of a single JPG is rarely the problem.
A low setting shows its damage first in smooth areas: skies develop visible bands, skin turns blotchy, and fine detail like hair or distant text softens. If you see that damage, convert again from the original HEIC at a higher setting — do not try to repair the damaged JPG, because the detail is gone and no tool can put it back.
| Setting | File size | Use it when |
|---|---|---|
| High | Larger | The photo matters: forms, prints, portfolios. |
| Medium | Moderate | Sharing online, where size matters a little. |
| Low | Small | Only when a strict size limit forces it — and check the result. |
Checking the result properly
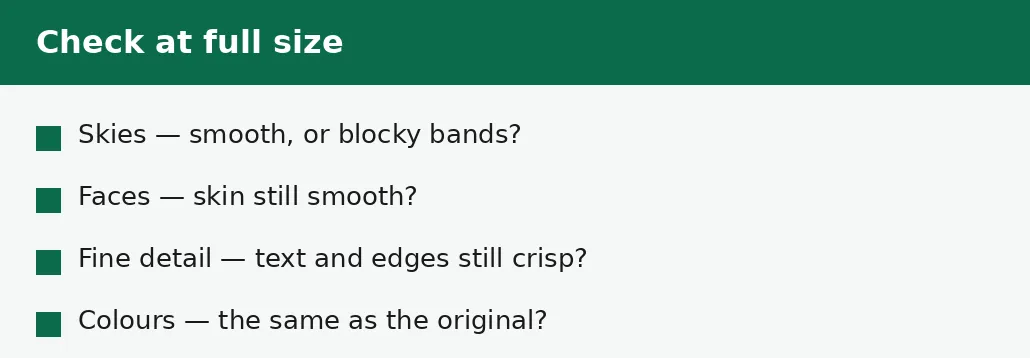
Open the JPG at full size — not the thumbnail, not a small preview — and look at four things. Skies should be smooth, without visible bands of colour. Faces should keep smooth skin without blotches. Fine detail — text in the background, hair, distant edges — should still be crisp. And the colours should match the original: the same warmth, the same greens, nothing washed out or shifted.
If anything looks wrong, the fix is to convert again from the original HEIC, not to edit the JPG. Editing a damaged JPG polishes the damage; converting again from the source avoids it. Keep the original HEIC until the JPG is checked and accepted — that is the whole point of keeping it.
When the JPG must also hit a size limit
Some forms cap a photo at 200 KB, and a high-quality JPG from a modern iPhone photo will often be larger than that. The answer is two steps, in order: convert at high quality first, then shrink the JPG toward the limit with the image compressor or the exact-target image page. The two-step job keeps more detail than a single low-quality conversion, because each step does one thing well.
If the two-step result still misses the limit, the photo itself is the problem, not the settings: a very detailed photo has a floor, and the only remaining lever is to resize the photo to smaller dimensions — fewer pixels need fewer kilobytes. The guide to resizing an image without losing quality covers that step.
The mistakes that cost quality
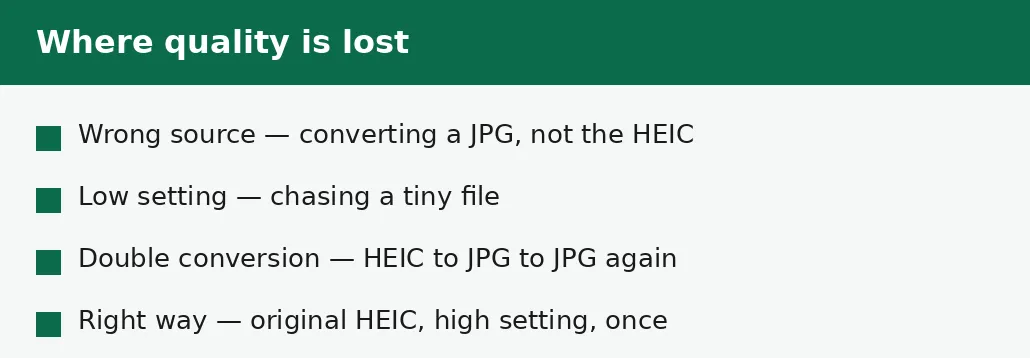
The most common mistake is converting from a JPG instead of the original HEIC — for example, converting a HEIC to JPG on the phone, then converting that JPG again on the computer. Each conversion throws away a little more, and the second one starts from an already-degraded picture. Always go back to the original HEIC.
The second mistake is converting the same photo several times while trying different settings, and keeping the last result rather than the best one. Each attempt should start from the original HEIC, and the result to keep is the one that looks right at full size — not the one from the most recent attempt. And the third mistake is deleting the HEIC before the JPG is checked: once the original is gone, a bad conversion cannot be redone.
Troubleshooting
Why does my converted JPG look worse than the HEIC?
Either the quality setting was too low, or the conversion started from a JPG rather than the original HEIC. Convert again from the original HEIC at a high quality setting, and check the result at full size.
Why is my JPG so much bigger than the HEIC?
HEIC compresses more efficiently, so the same photo takes about half the space as HEIC. The JPG is larger because JPG's older compression needs more space for the same picture — that is expected, not a fault.
Why can't I convert the photo again — the HEIC is gone?
The original was deleted before the JPG was checked. Keep the HEIC until the JPG is accepted; once the original is gone, a bad conversion cannot be redone from the source.
Common questions
Does converting HEIC to JPG lose quality?
The picture itself survives when you convert from the original HEIC at a high quality setting. What is lost is the extras HEIC can carry — live-photo frames and depth data — and a little of the size efficiency.
What quality setting should I use?
High, for any photo that matters — forms, prints, portfolios. Medium for casual sharing. Low only when a strict size limit forces it, and check the result at full size.
Should I convert from the HEIC or from a JPG?
From the HEIC, always. Converting from a JPG starts from an already-degraded picture, and each conversion throws away a little more.
Why is my converted JPG larger than the original HEIC?
HEIC compresses more efficiently, so the same photo takes about half the space as HEIC. The larger JPG is the price of a format that opens everywhere.
Is my photo uploaded anywhere when I convert it?
No. Conversion runs entirely in your browser. Nothing is sent to a server, there is no account, and closing the tab clears your file from memory.
What if the JPG must be under 200 KB for a form?
Convert at high quality first, then shrink the JPG toward the limit with the image compressor. Two steps keep more detail than one low-quality conversion.
Summary
Convert from the original HEIC, at a high quality setting, once — then open the JPG at full size and check the skies, faces and fine detail before you use it. Keep the original HEIC until the JPG is accepted. If the JPG must also hit a size limit, convert first and shrink second, never both at once.